Canon P1-DTSC II OfficeMate Printing Calculator 12 Digits Instructions


Canon P1-DTSC II OfficeMate Printing Calculator 12 Digits

IMPORTANT: READ BEFORE USE
Please read the following instructions and safety precautions before using the calculator. Keep this sheet on hand for future reference.
CAUTION AND GENERAL MAINTENANCE
- Do not use or leave the calculator under direct sunlight. Areas subject to rapid temperature changes, high humidity, dust and dirt should also be avoided.
- Use a dry cloth to clean the casing of the unit. Do not use water or detergents.
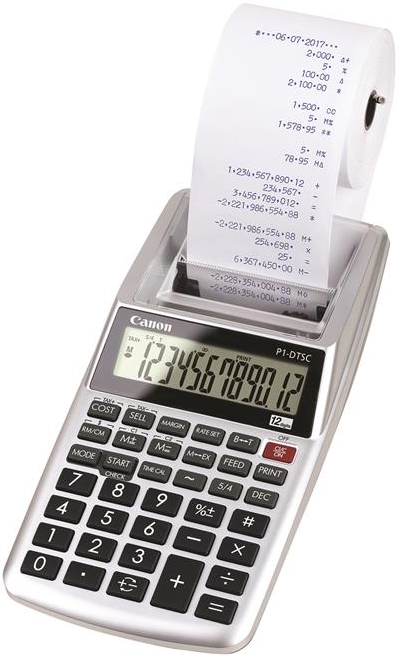
- Only use the printer when the paper roll is loaded.
- Avoid using the calculator in places where there are iron filings, as this may affect the electrical circuits of the calculator.
- Do not place anything on top of the machine, particularly on top of the printer mechanism.
- Turn the calculator off before removing the plug from the electrical outlet.
- In case of electrical fault (i.e. smoke), disconnect the plug from the electrical outlet immediately. The outlet should be installed near the equipment and should be easily accessible.
LOADING AND REPLACING BATTERIES
LOADING
- Remove the battery cover by sliding in the direction of the arrow.
- Load 4 new AA batteries as illustrated.
- Replace the cover.
REPLACEMENT
- Low battery power may cause printing problems or random paper advances. It can also disable the key.
- If the display is dim or the printing speed decreases or the icon appears, then the batteries may need to be replaced. Replace batteries to resume normal operations.
- Low battery power may cause printing problems or random paper advances. It can also disable the / key.
- If the display is dim or the printing speed decreases or the icon appears, then the batteries may need to be replaced. Replace batteries to resume normal operations.

INSTALLING PRINTING PAPER
- Lift up the paper arm.
- When inserting the paper, cut the edge of the paper.
- Place the new paper roll on the arm. The edge of the paper should be positioned.
- Standard paper roll – Width: 57-58mm / Max. Diameter: 85mm
- Insert the paper into the slit at the top of the machine as indicated.
- Turn the calculator on. Press the paper feed key to advance the paper.

AC OPERATION
- Using AD-11 III (for Europe) / AD-35 II (for Australia / New Zealand)
- Turn the power switch to OFF before connecting or disconnecting the AC Adapter.
- When plugging the AC Adapter during the “ON” mode.
- Press key to restart the calculator.

REPLACING THE INK ROLLER
- Remove the printer cover.
- Lift up the old ink roller and remove it.
- Insert the new ink roller by pressing it gently into position.
(Use only the Ink Roller CP-16.) - Replace the printer cover.
- Do not attempt to refill the ink roller, since this may cause mechanical difficulties.

Decimal Point Selection

Was this manual helpful?
Thank you for your feedback!