Dell C6400 PowerEdge Node Server Installation Guide


Identifying the rail kit contents
Identify the components to install the rail:
- Two static rail assemblies
- Two optional chassis retention brackets
- Four M5 screws
- Four M5 cage nuts

- static rail assembly (2)
- optional chassis retention bracket (2)
- M5 screw (4)
- M5 cage nut (4)
Installing and removing the
CAUTION: When installing rails in a square-hole rack, ensure that the square pegs slide into the square holes and sit firmly.
NOTE: The rails can be installed in both square and round hole racks.
NOTE: The support bracket must be removed if the rail cannot fit between the rack flanges.
- To install the rail:
- Press the release latch on the rail.
- Align the rail with the rack flange, ensuring that the rail pegs are seated in the designated rack holes.
- Release the latch to lock the rail in place.
- To remove the rail, press the release latch and disengage each rail.

- rack flange
- release latch (2)
- support bracket
- rail peg (4)
Installing and removing the system
- To install and secure the system into the rack:
- If installing the optional chassis retention bracket, insert two cage nuts in the two rack holes above each rail.
NOTE: If the system is a 1U system, the optional chassis retention brackets cannot be installed. NOTE: The cage nuts must be installed before installing the system in the rack. - Position the system on the rail.
- Hold the system rack ears and slide the system into the rack until the system is seated in place.
- Tighten the thumbscrews to secure the system.
- If installing the optional chassis retention bracket, insert two cage nuts in the two rack holes above each rail.
- To remove the system from the rack:
- Loosen the thumbscrews to release the system.
- Pull and remove the system out of the rail.

- thumbscrew (2)
- rack ear (2)
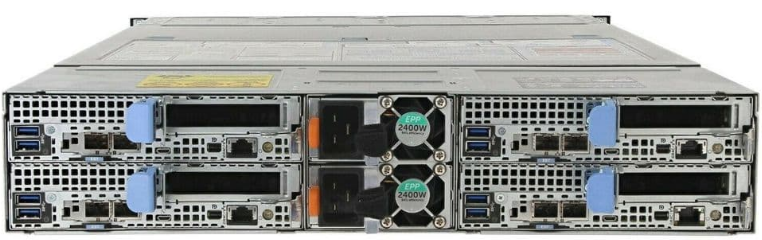
- system
- cage nut (4)
Installing and removing the optional chassis retention bracket
WARNING: When shipping a rack with the system installed, ensure that the two chassis retention brackets are firmly seated on the system.
- To install the optional chassis retention bracket:
- Place the bracket on the system.
- Secure the bracket to the rack flange with two screws by using Phillips #2 screwdriver.
- To remove the optional chassis retention bracket, remove the screws securing the bracket.

- cage nut (4)
- screw (4)
- chassis retention bracket (2)
WARNING: A WARNING indicates a potential for property damage, personal injury, or death.
CAUTION: A CAUTION indicates potential damage to hardware or loss of data if instructions are not followed.
NOTE: A NOTE indicates important information that helps you make better use of your system.