Epson WF-2880 Series Printer Instruction Manual


EPSON WF-2880 Series Printer 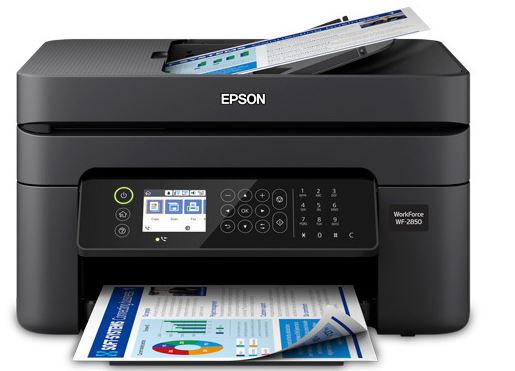

Setting up the Printer
- Remove all protective materials.
- <Connecting to PSTN or PBX> <Connecting to DSL or ISDN>
- Available phone cable RJ-11 Phone Line / RJ-11 Telephone set connection Connect a phone cable.
- Depending on the area, a phone cable may be included with the printer, if so, use the cable
- If you want to share the same phone line as your telephone, remove the cap and then connect the telephone to the EXT. port. Connect and plug in.
- Hold down the power button until the lamp turns on.
- Select a language, country and time.
Open. - Select a language, country and time.
Open - Remove only the yellow tape.
- For the initial setup, make sure you use the ink cartridges that came with this printer. These cartridges cannot be saved for later use. The initial ink cartridges will be partly used to charge the print head. These cartridges may print fewer pages compared to subsequent ink cartridges. Insert all four cartridges. Press each unit until it clicks.
Close. - Follow the instructions on the LCD screen. Wait until ink charging is complete.
- When ink charging is complete, the print quality adjustment screen is displayed. Follow the on-screen instructions to perform adjustments.
- When the paper loading message is displayed, see step N.
- N Load paper in the paper cassette with the printable side facing down.
- Set the paper size and paper type for the paper cassette. You can change these settings later.
- Make the fax settings. You can change these settings later. If you do not want to make settings now, close the fax settings screen.


Installing Software
Windows

Insert the CD, and then select A or B.

Visit the website to start the setup process, install software, and configure network settings.
iOS/Android

Was this manual helpful?
Thank you for your feedback!