Bosch GAL 18V-40 Professional Fast Charger Instruction Manual


BOSCH GAL 18V-40 Professional Fast Charger

INSTRUCTION

Safety instructions
Store these instructions in a safe place
Only use the charger if you can fully evaluate all functions and carry them out without restrictions, or if you have received corresponding instructions.
- This charger is not intended for use by children or persons with physical, sensory or mental limitations or a lack of experience or knowledge. This charger can be used by children aged 8 or older and by persons who have physical, sensory, or mental limitations or a lack of experience or knowledge if a person responsible for their safety supervises them or has instructed them in the safe operation of the charger and they understand the associated dangers. Otherwise, there is a risk of operating errors and injuries.
- Supervise children during use, cleaning, and maintenance. This will ensure that children do not play with the charger.
- Only charge Bosch Li-Ion batteries with a capacity of 2.0 Ah or more ( 3 battery cells or more). The battery voltage must match the battery charging voltage of the charger. Do not charge any non-rechargeable batteries. Otherwise, there is a risk of fire and explosion.
- Keep the charger clean. Dirt poses a risk of electric shock.
- Always check the charger, cable and plug before use. Stop using the charger if you discover any damage. Do not open the charger yourself, and have it repaired only by a qualified specialist using only original replacement parts. Damaged chargers, cables and plugs increase the risk of electric shock.
- Do not operate the charger on an easily ignited sur-face (e.g. paper, textiles, etc.) or in a flammable environment. There is a risk of fire due to the charger heating up during operation.
- In case of damage and improper use of the battery, va-pours may also be emitted. Ensure the area is well-vent-ilated and seek medical attention should you experience any adverse effects. The vapours may irritate the respiratory system.
- Do not cover the ventilation slots of the charger. Otherwise, the charger may overheat and no long function properly.
Products sold in GB only:
Your product is fitted with an BS 1363/A approved electric plug with internal fuse (ASTA approved to BS 1362). If the plug is not suitable for your socket outlets, it should be cut off and an appropriate plug fitted in its place by an authorised customer service agent. The replacement plug should have the same fuse rating as the original plug. The severed plug must be disposed of to avoid a possible shock hazard and should never be inserted into a mains socket elsewhere.
Product Description and Specifications
Product Features
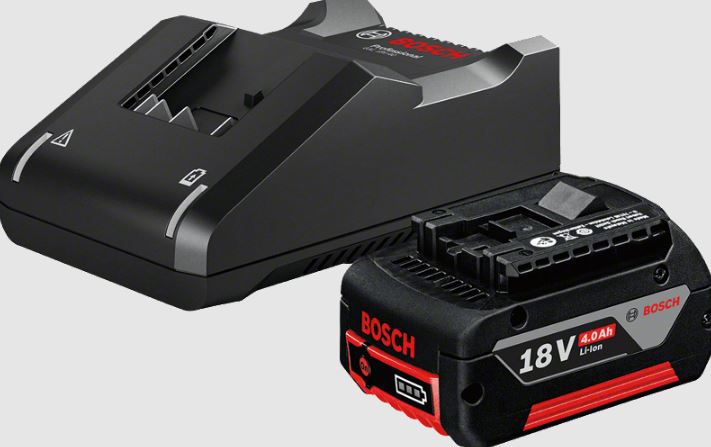
The numbering of the components shown refers to the diagram of the charger on the graphics page.
- Battery A)
- Charging slot
- Red battery charge level indicator
- Green battery charge level indicator
- Wall mount
- A) Accessories shown or described are not included with the product as standard. You can find the complete selection of accessories in our accessories range.
Technical Data
| Article number | 2 607 226 2.. | |
| Battery charging voltage (automatic voltage detection) | V | 10.8-18 |
| Charge current | A | 4.0 |
| Permitted charging temperature range | °C | 0-45 |
| Charge time at battery capacity, approx. | (80%)/100% | |
| – 2.0 Ah | min | (24)/35 |
| – 3.0 Ah | min | (36)/50 |
| – 4.0 Ah | min | (48)/65 |
| – 5.0 Ah | min | (60)/70 |
| – 6.0 Ah | min | (72)/95 |
| Number of battery cells | 3-15 | |
| Weight according to EPTA-Procedure 01:2014 |
kg | 0.55 |
| Protection class | / II |
Operation
Start-up
- Note the mains voltage! The voltage of the power source must match the voltage specified on the rating plate of the charger. Chargers marked with 230 V can also be operated with 220 V.
Charging process
The charging process begins as soon as the mains plug for the charger is inserted into the mains socket and the battery (1) is inserted into the charging slot (2). Thanks to the intelligent charging process, the charge condition of the battery is automatically detected and then charged up with the optimal charge current depending on battery temperature and voltage. In this way, the battery is treated with care and remains permanently fully charged when it is stored in the charger.
What the display elements mean
Flashing green battery charge level indicator (4)
- The rapid-charging procedure is indicated by flashing of the green battery charge level indicator (4). The battery can be removed at any time and used.
Note: The charging process is only possible when the temperature of the battery is within the permitted charging temperature range, see section “Technical data”.
- Once approx. 80% of the battery capacity has been reached, the flashing of the green battery charge indicator slows down. The rapid-charging process is now completed. If the battery remains in the charger, the charging process will be completed in the Long Life charging mode.
Continuously illuminated green battery charge level indicator (4)
The continuous light of the green battery charge level indicator (4) signals that the battery is fully charged. The battery can then be removed for immediate use. When there is no battery connected, the continuous light of the battery charge level indicator (4) indicates that the mains plug is plugged into the mains socket and that the charger is ready to be used.
Continuously illuminated red battery charge level indicator (3)
The continuous light of the red battery charge level indicator (3) shows that the temperature of the battery is outside of the permitted charging temperature range, see section “Technical data”. The charging process begins as soon as the permitted temperature range has been reached. Flashing red battery charge level indicator (3) The flashing light of the red battery charge level indicator (3) signals that the charging process has been interrupted by a different fault, see section “Errors causes and correct-
Wall mounting
The charger can be used either free-standing (for use on a desktop) or mounted on the wall. When affixing to the wall: Drill two holes, leaving a clearance as specified in the image. To secure it, use round-head screws with a diameter of 5 mm to max. 6.5 mm.

Errors – Causes and Corrective Measures
Red battery charge level indicator (3) is flashing Charging not possible

Practical advice
When the charger is used continuously, or for several consecutive charge cycles without interruption, the charger may heat up. This is, however, harmless and does not indicate that the charger has a technical defect. A significantly reduced operating time after charging indicates that the battery has deteriorated and must be replaced.
Maintenance and Servicing
Maintenance and cleaning
In order to avoid safety hazards, if the power supply cord needs to be replaced, this must be done by Bosch or by a customer service centre that is authorized to repair Bosch power tools.
After-sales service and advice on using products
Our after-sales service responds to your questions concerning maintenance and repair of your product as well as spare parts. You can find explosion drawings and information on spare parts at: www.bosch-pt.com The Bosch product use advice team will be happy to help you with any questions about our products and their accessories.