Motorola Accessory Programming Software User Guide
motorola Accessory Programming Software User Guide

Introduction
Accessory Programming Software, or APS, is a utility that allows you to upgrade and/or configure your Motorola Solutions accessory product. Please read the instructions below before proceeding with the installation. Be sure to carefully read all on-screen instructions during the installation and use.
APS Installation Requirements
Accessory Programming Software suggested using with Windows 10 operating systems.
APS Software Installation
Note: The installation package will include several software components: Flip, Java Runtime Environment, .Net framework 3.5 SP1, and Accessory Programming Software. You will be prompted to start installation and acknowledge End User License Agreements for individual components.
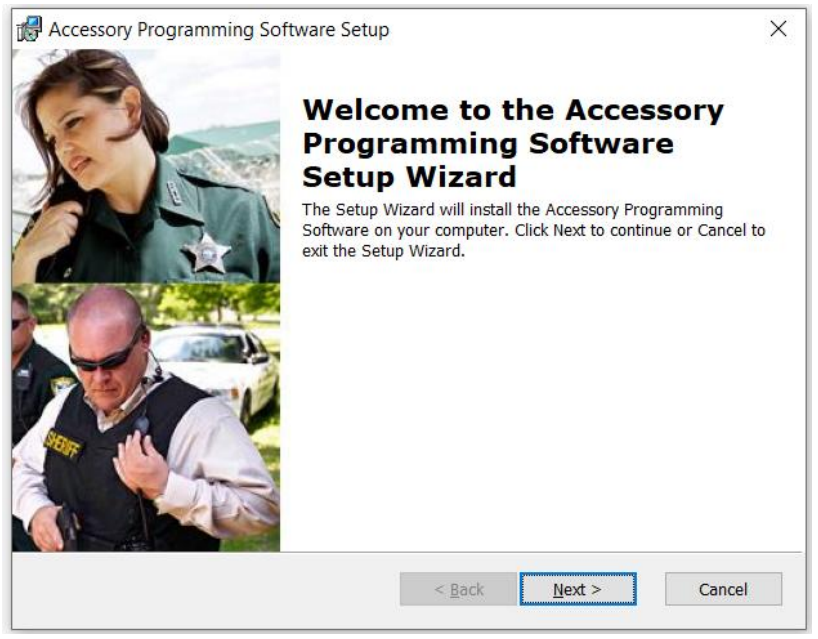
Follow the steps below to install the Accessory Programming Software:
- Download the APS.zip file from the Motorola Solutions website for your product
(specific product page can be located on http://www.motorolasolutions.com). - Extract APS.zip file to a local drive (most systems will perform that action automatically when you click on the file icon).
- Open the folder and click on setup.exe.
- Use all default options, accept all End User License Agreements and click “Install” or “Next” as prompted.
- Press Finish when complete as prompted by the following screen

Device Driver Installation
By using Windows 10, drivers are installed automatically and you will usually see system notification of successful driver installation. How to Configure Accessory No further action would be needed in this case.
How to Configure Accessory
- Launch APS from “Start->Programs->Motorola Solutions->Accessory Programming Software- >APS”, or use desktop shortcut. Connect the accessories to the computer using a micro USB cable.
- Select a device out of the list displayed on the left panel and click on Configuration button.
Note: You may have one or more devices connected at the same time. If no device is attached, none will be displayed. Once a device is selected, Configuration button will be enabled if the attached accessory supports Configuration feature. - Select a component under selected device icon (left side of the Configuration panel, “System” in this example). At this point, you should see all the features that can be modified for that component.
- For a description of each feature, simply put the mouse pointer on the name of that feature. A pop up dialog will be displayed below with a description for that particular feature.
- Modify the settings and click the Write button on the Toolbar. Click OK button on the dialog and then Close button on the Toolbar if you are done.


How to Upgrade Accessory Firmware
Upgrade Package Installation
- Download the upgrade package from the website. Extract the zip file and click on the msi file to install the upgrade package. The upgrade package contains the firmware intended to be programmed onto the accessory using the Accessory Programming Software.proceeding with the installation. Be sure to carefully read all on-screen instructions during the installation and use.
Note: Ignore the publisher warning and click Run. The dialog will close automatically when the package is successfully installed.
Upgrade Device Firmware
- Launch APS from “Start->Programs->Motorola Solutions->Accessory Programming Software->APS”. There is also a shortcut on the desktop.
- Select Device1 and the Upgrade button will be enabled. Click on Upgrade button.
- Select the proper firmware version and click Start button.
Note: The upgrade package that was installed previously will be shown here. If it is not shown, try to install the upgrade package again.
Note: The following window will also be displayed during this upgrade process for some products: - Click Close when the device is successfully upgraded.


