LG P1400RTM Washing Machine Owner’s Manual


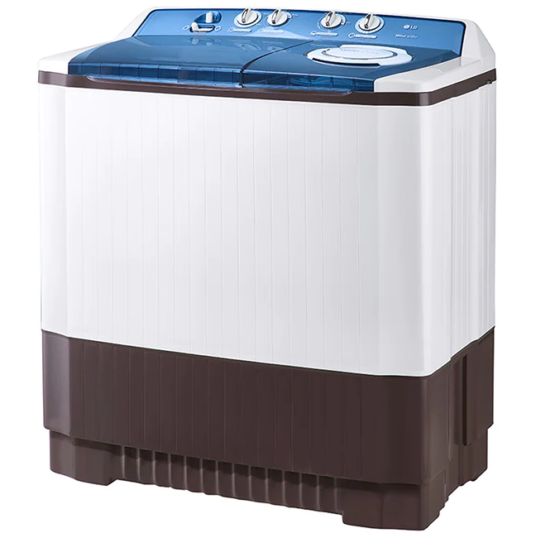
LG P1400RTM Washing Machine

DRAWING
| SEC. WORK |
1 | 2 | 3 | 4 | MATERIAL AND PRINTING DESCRIPTION | LG MODEL | SUFFIX | LANG. | PAGE | REMARK |
| BRAND | MODEL | P/NO. | Rev No. | |||||||
|
64 |
LG |
P1400RTM |
MFL39986164 |
Rev.00_041921 |
SNOW WHITE 60g OFFSET Black & White (Monochome) |
P1461RWNT |
DBMPEIN |
ENGLISH |
8 |
Armstrong |
FEATURES

- Water Supply Inlet Connect here with the inlet hose from the water faucet to feed water to the tub.
- Water Supply Selector Select WASH” to supply water for washing and rinsing and “SPIN” for spin shower rinse.
- Wash Timer Select the desired time for washing or rinsing. The maximum is 35 min. (Period 16-35 min, the machine wil switch between washing and soaking.
NOTE
The washing machine is to be connected to the water mains using new hose-sets and old hose-sets should not be reused. - Wash Selector Set the program to “Gentle”,”Normal”, “Strong according to kinds and quantity of the laundry.
- Drain Selector Select Wash Rinse” for washing and rinsing and Drain” to drain the water out of the tub.
- Spin Timer Select the desired time for spinning. The maximum limit is 5min. Don’t rotate the the knob more than prescribe limit. Stop spinning program for more than 1 hour after using spinning program 3 times continuously. Otherwise, the spin motor could be damaged of fire or stop operation.
INSTALLATION
- Set on flat and firm floor.
- Incorrect installation may course severe noise and break down.
- Maintain more than 10 cm. between the side of drain hose and the wall.
- A carpet must not obstruct the ventilation openings.

Connecting the earth wire
Instal the earth wire to prevent short-circuit due to leaking current and electric shock. It is attached at the back of the washer. Connect it to the metal water pipe. If the water pipe is made of plastic, it does not have the earth effect. Do not connect the earth wire to the gas pipe, lightning arrester, telephone connecter, etc.. “Warning-the appliance with two pronged plug must be grounded.
Connecting the power plug
Insert the power plug into the outlet. Before connecting the power plug, check if the voltage setting of the washer matches the outlet voltage. lFAC outlet with ground terminal is used, grounding is not needed. if not, never forget earthing. .The appliance must be positioned so that the plug is accessible.
Other earthing methods

Connecting the drain hose
Connect the drain hose to the outlet of the plunger valve located at the back side. Push the clamp toward the body of the washing machine as shown in the figure. Be sure to reroute the hose so that it is not kinked, kinks or sharp bending in the hose will prevent proper drainage. Make sure water is drained smoothly by placing a base under the machine or by applying other appropriate mean.

Installation
This appliance must be grounded. In the event of malfunction or breakdown, grounding will reduce the risk of electric shock by providing a path of least resistance for electric current This apliance is equipped with a power cord having an equipment-grounding conductor and a grounding power plug. The power plug must be plugged into an appropriate socket outlet that is installed and grounded in accordance with all local codes and ordinances. Improper connection of the equipment-grounding conductor can result in risk of electric shock. Check with a qualified electrician or service personnel if you are in doubt as to whether the appliance is properly grounded. Do not modify the power cord provided with the appliance.
INSTALLATION & HOW TO WASH
Before washing

- Check the washing instruction labels on the clothing to be washed.
- Remove all objects from the pockets of the clothing.Objects left in the pockets may damage clothing or break the washing machine (could cause the drain hose to clog).
- After separating oiled or dyed clothing, wash.
- For your convenience hang up the wash cover on the right or left side of the washing machine tub when not in use.
How to wash

HOW TO RINSE & HOW TO SPIN
Interim spin rinse
Interim spin rinse prior to regular rinsing helps removing sudsy water from the laundry and improve rinsing efficiency. Also is helpful to water saving.
Note for spinning
- Put the laundry evenly into the spin dryer basket.
- Put the laundry down lightly.
- Place the safety cover horizontally over the laundry, washing machine will be damage if the safety cover is not placed.
- Close the spin dryer cover.
- Do not drain the water out of the wash tub while the spin dryer basket is in operation.
If the spin dryer basket is off-balance and vibrates excessively, stop the spinnina. rearranae the clothes evenlv. and then resume spinnina.
CARE& MAINTENANCE
Rotation filter-C

- Lift up the area of the overflow filter and take out the rotation filter-C by pulling in the direction as shown.
- Pull the overflow filter forward from the washtub in the direction of the arrow.
- Turn the net over and rinse in water.
- Use a brush or hand to remove all of the lint which has adhered to the overflow filter.
- Insert the overflow filter back into the washtub.
- Insert the rotation filter-C back into the overflow filter.
REFERENCE
TABLE 1. WEIGHT GUIDE FOR CLOTHES
TABLE 2. GUIDE FOR WASHING


The amount of laundry is based on dry laundry. The detergent amount is based on a general synthetic detergent. If washing and spinning must be operated together, starting washing and spinning operation shall be done at the same time to cope with EMC requirements.
TROUBLESHOOTING GUIDE
Before Requesting Service

