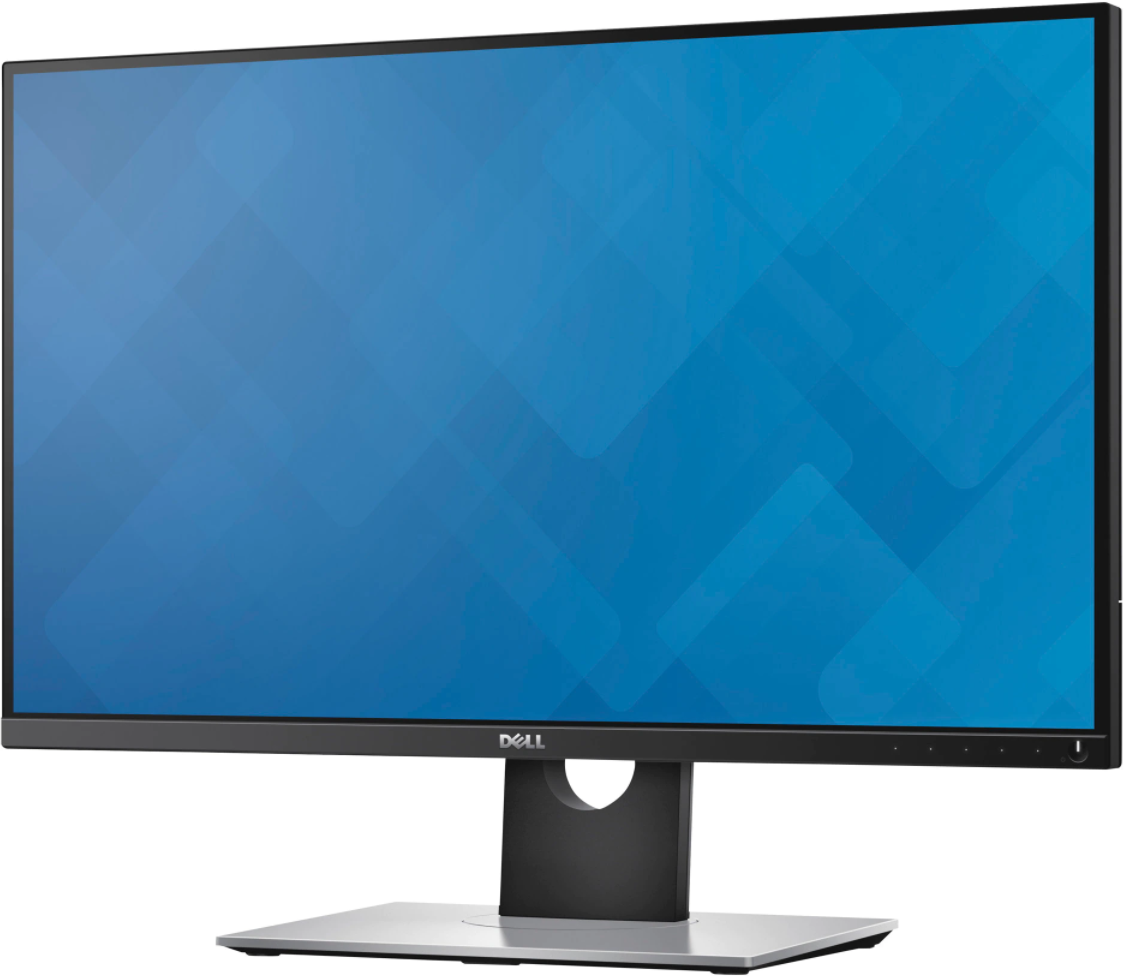
Dell UP2716D 27 inch Screen LED Lit Monitor User Guide

DELL UP2716D 27 inch Screen LED Lit Monitor

Disassembly Procedures
S1: Open the carton with a proper tool.
S2: Take out all accessories including QSG, Delta-e paper, user’s manual, DP cable, USB cable, power cable and other packing materials from the carton.(Note: It depends on whether users returning the accessories)
S3: Take out the base, Paper-Top and stand from the carton, then take out the monitor from the pizza carton.
S4: Take out the monitor from EPE-bag and put the LCD monitor on a protective cushion.
S5: Use a Philips-head screwdriver to remove four screws for unlocking mechanisms.
(No.1~4 screw size=M4x8; Torque=10~11kgfxcm)
S6: Wedge your fingers between the rear cover and the middle bezel on the corners of the top side of the monitor to release the rear cover, then use one hand to press the middle bezel, the other hand to pull up carefully the rear cover in order of arrow preference for unlocking mechanisms of rear cover.
S7: Remove the rear cover carefully. Tear off the two pieces of aluminum foil, and then disconnect the USB cable away from the connector of the circuit board, then tear off adhesive tape to release the cable.
S8: Use a Philips-head screwdriver to release ten screws for unlocking the middle bezel with the assembled unit. Use a Philips-head screwdriver to unlock two screws for releasing the bracket chassis module.(No.1~12 screw size=M3x4, Torque=3~4kgfxcm)
S9: Remove the middle bezel and put it on a protector. Use a Philips-head screwdriver to remove one screw for unlocking the USB board unit, then release the USB board unit and put it aside.
(No.1 screw size=M3x7.5, Torque=7~8kgfxcm)
S10: Tear off the two pieces of PVC tape, then disconnect the two panel power cables away from the connectors of the panel module, then release the panel power cable by tearing off the adhesive tapes.
S11: Disconnect the function key cable from the connector of the interface board, then tear off the adhesive tapes to release the function key cable.
S12: Lift up panel module for releasing the front bezel, then remove the front bezel with the function key board and put it aside.
S13: Use a Philips-head screwdriver to release two screws for unlocking the bracket chassis module. Tear off the aluminum foil, and then disconnect the two LVDS cables from the connectors of the panel module.
(No.1~2 Screw size= M3x0.5×4, Torque=3~4kgfxcm)
S14: Lift up the bracket chassis module and put it on a protector cushion.
S15: Turn over the bracket chassis module. Remove the Mylar from the hooks of the bracket, and then use a Philips-head screwdriver to remove two screws for unlocking AC power outlet.
(No.1~2 screw size=M3x10, Torque=4~5kgfxcm)
S16: Use a Philips-head screwdriver to remove seven screws for unlocking interface board, LED driver board and power board, then release the panel power cable by tearing off the adhesive tape.
(No.1 screw size=M4x8, Torque=7~8kgfxcm;
No.2~7 screw size=M3x7.5, Torque=7~8kgfxcm)
S17: Remove the circuit boards from the bracket chassis module carefully, and then disconnect all of the cables.
S18: Remove electrolyte capacitors (red mark) from printed circuit boards
S18-1: Cut the glue between bulk cap. and PCB with a knife
S18-2: Ensure cutting path within the glue, don’t touch bulk cap. or PCB
S18-3: Cut into the bottom of bulk cap. and pull it up carefully
S18-4: Take out bulk cap. pin solder with soldering iron and absorber
S18-5: Lift the bulk cap. up and away from the PCB