D-Link Pro Series Whole Home Smart Wi-Fi Water Leak Sensor Starter Kit Installation Guide


D-Link Pro Series Whole Home Smart Wi-Fi Water Leak Sensor Starter Kit

Pro Series
Whole Home Smart Wi-Fi Water Leak Sensor Starter Kit
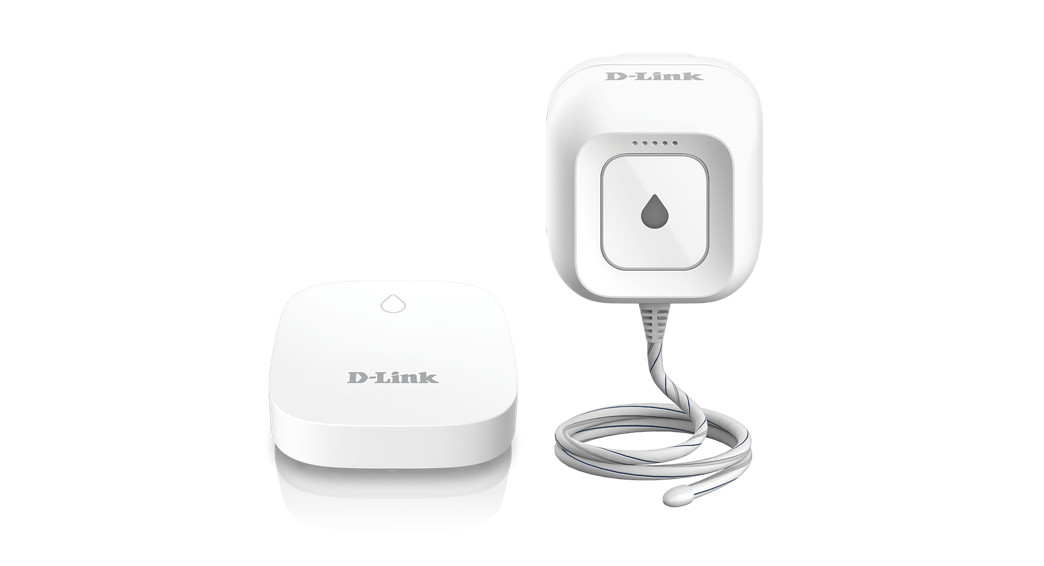
What’s in the Box

- Master Plug-in Smart Wi-Fi Water Leak Sensor (DCH-S162)
- RJ11 Sensing Cable
- Cable Clips
- Battery-powered Remote Water Sensing Pod (DCH-S163)
- Quick Installation Guide
- DCH-S163 pre-installed with 2 AAA batteries
Simple Setup
Please set up your device before mounting it.
- Get the mydlink app on the App Store or on Google Play. Launch the app, then Sign In or Create a New Account.
- Power on the device and wait for the Status LED to flash orange.
Note: Make sure that your mobile device’s Bluetooth is on. - Place your device next to your mobile device. A prompt will appear tap Add Device, then follow the app instructions.
Note: If not automatically prompted within 30 seconds, tap then tap Add Device.


Setup Code
This is your device’s Setup Code. Please keep it as future reference for your device.
Alerts
When water is detected from any of the sensors connected to your whole home water leak system, ONLY the Master Plug-in Smart Wi-Fi Water Leak Sensor (DCH-S162) will sound an audible alarm and an alert will be sent to your smartphone notifying you as to which unit was triggered.
LED Behavior

- Connected to the network and mydlink
- Booting up
- Ready for setup
- Firmware being updated – do not power off
- Water leak detected
- Pairing in process

- Waiting to pair
- Water leak detected
- Connection failed
- Paired to the hub
- Power saving mode
Placement

- If you haven’t already done so, ensure the DCH-S162 has been set up. Refer to the Simple Setup section for details.
- Connect the supplied RJ-11 sensing cable to the RJ-11 port on the bottom of the DCH-S162.
Note: If you need to further extend the sensing cable, you may attach additional RJ-11 cable(s). - Attach the supplied cable clips to the cable and screw them down to secure the cable to the wall/floor.
- Place the DCH-S163 in another location where you would also like to detect water leaks. Ensure the unit is sitting with its sensors (bottom) down. The DCH-S163 should be within 300 metres of the master DCH-S162 Unit.
FAQ
What do I do if my device is not working properly?
Reset and reinstall your device. During installation, ensure that:
- Your router is connected to the Internet and Wi-Fi is enabled
- Your mobile device is connected to your router’s Wi-Fi and Bluetooth is enabled
- Your mydlink device is in range of your Wi-Fi network
How do I reset my device?
DCH-S162: Press and hold the Reset button until it turns solid red.

DCH-S163: Press and hold the Reset button until it blinks red.
How do I install additional DCH-S163 units?
In the mydlink app, tap then tap Add a Device. Tap Scan, then scan the Setup Code located on the device. Follow the app instructions to set up the additional DCH-S163 unit with your kit.
Need Help?
Having trouble installing your new product? D-Link’s support website contains live chat, video tutorials, commonly asked questions, the latest user documentation and software updates for D-Link products.
Contact Us
http://support.dlink.ca (800) 361-5265